What is the Yggdrill Bitaxe Firmware Updater?
A browser-based tool that allows you to update the firmware on your Bitaxe mining device directly from your web browser. No software installation or technical knowledge required.
What You’ll Need
- A Chromium-based web browser – Google Chrome, Microsoft Edge, Brave, or Opera. Safari and Firefox are not supported.
- A USB data cable – Important: Many USB cables are “charge-only” and won’t work. If your device isn’t detected, try a different cable.
- Your Bitaxe device – Make sure it’s powered off before connecting.
Supported Devices
The updater supports the following Bitaxe models and board versions:
| Device |
Board Versions |
| Bitaxe Max |
102 |
| Bitaxe Ultra |
201, 202, 203, 204, 205, 207 |
| Bitaxe Supra |
401, 402, 403 |
| Bitaxe Gamma |
601, 602 |
| Bitaxe UltraHex |
302, 303 |
| Bitaxe SupraHex |
701, 702 |
| NerdMiner |
100 |
| NerdNOS |
100 |
Not sure which board version you have? Check the label on your Bitaxe circuit board or the documentation that came with your device.
Step-by-Step Update Guide
Step 1: Connect Your Device
Connect your Bitaxe to your computer using a USB data cable. The device should power on when connected. If it doesn’t, make sure you’re using a cable that supports data transfer, not just charging.
Step 2: Open the Firmware Updater
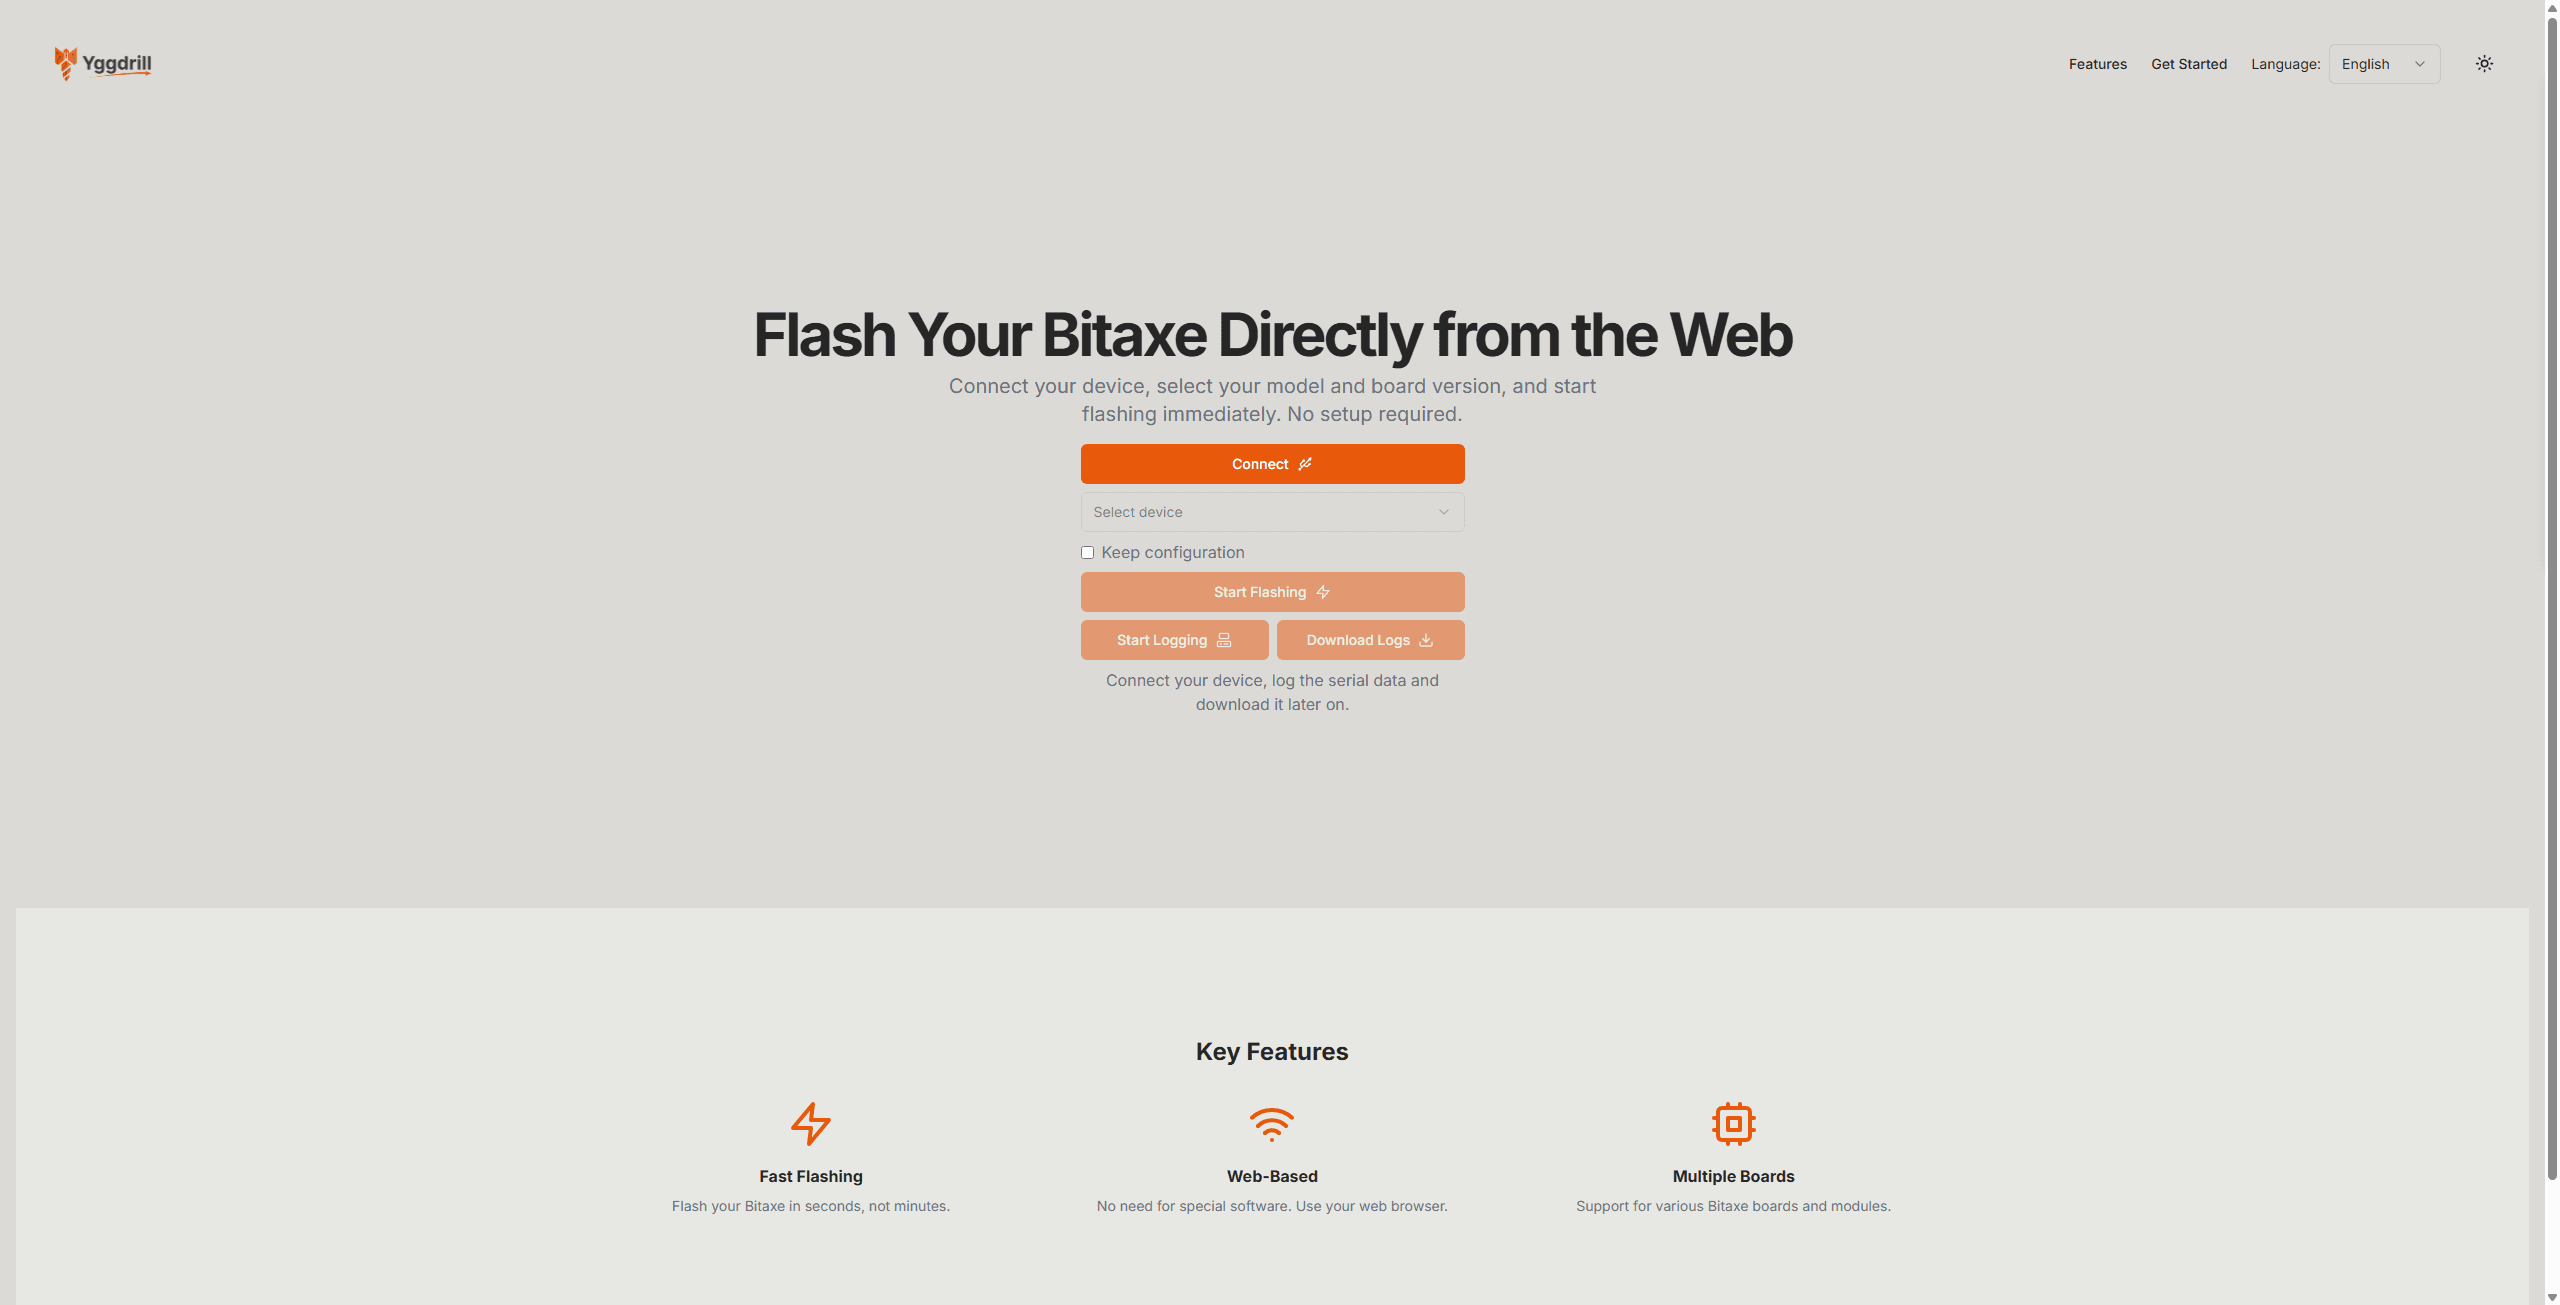
Navigate to flash.yggdrill.com in your Chromium-based browser.
Step 3: Click Connect
Click the orange “Connect” button. Your browser will show a popup asking you to select a serial port. Choose the one that corresponds to your Bitaxe device. It may appear as “USB Serial Device”, “CP210x”, “CH340”, or similar depending on your operating system.
Step 4: Select Your Device
From the “Select device” dropdown, choose your Bitaxe model (e.g., Ultra, Supra, Max, etc.).
Step 5: Select Your Board Version
After selecting your device, a second dropdown will appear. Select your board version number (e.g., 201, 402, etc.). This is usually printed on your Bitaxe circuit board.
Step 6: Select Firmware Version
Choose the firmware version you want to install. The latest version is usually recommended unless you have a specific reason to use an older version.
Step 7: Keep Configuration (Optional)
If you check the “Keep configuration” box, your existing WiFi settings, pool configuration, and other settings will be preserved after the update. If you leave it unchecked, the device will be reset to factory defaults and you’ll need to reconfigure it.
Recommendation: If your device is already working well and you just want to update the firmware, check this box. If you’re experiencing issues or want a fresh start, leave it unchecked.
Step 8: Start the Update
Click the “Start Flashing” button. The process will begin and you’ll see progress updates on the screen. The update typically takes 30-60 seconds.
Important: Do not disconnect your device or close the browser window during the update. Interrupting the process could leave your device in an unusable state.
Step 9: Complete
When the update is complete, you’ll see a success message. Your device will automatically restart with the new firmware. If you kept your configuration, it should reconnect to your WiFi and resume mining. If not, you’ll need to connect to the device’s WiFi hotspot and configure it.
Using the Serial Logger
The updater includes a built-in serial logger that lets you view real-time output from your Bitaxe. This is useful for troubleshooting or monitoring your device.
To use the logger:
- Connect to your device (click “Connect”)
- Click “Start Logging” – a terminal window will appear showing the device output
- Click “Stop Logging” when you’re done
- Click “Download Logs” to save the log output to a text file
Troubleshooting
Device not detected when clicking Connect
- Try a different USB cable – This is the most common issue. Many cables are charge-only.
- Try a different USB port – Some USB hubs don’t provide enough power or don’t support data transfer properly.
- Close other applications – Programs like Arduino IDE, PuTTY, or other serial monitors might be using the port.
- Install drivers – On Windows, you may need to install CH340 or CP210x drivers.
- Check your browser – Make sure you’re using Chrome, Edge, Brave, or Opera. Safari and Firefox don’t support this feature.
Update fails or gets stuck
- Disconnect and reconnect – Unplug the USB cable, wait 5 seconds, plug it back in, and try again.
- Try a different browser – Sometimes switching from Chrome to Edge (or vice versa) helps.
- Hold the boot button – On some devices, you may need to hold the BOOT button while connecting to enter bootloader mode.
Device won’t start after updating
- Try updating again – The process may have been interrupted. Reconnect and try again.
- Use bootloader mode – Hold the BOOT button while connecting the USB cable, then try updating.
- Access recovery page – If the device boots but the interface doesn’t work, try accessing http://[device-ip]/recovery
Wrong board version selected
If you accidentally update with the wrong board version, don’t panic. Simply reconnect and update again with the correct board version. The device should still be recoverable.
After Updating
If you didn’t keep your configuration, you’ll need to set up your Bitaxe:
- Look for a new WiFi network named something like “Bitaxe_XXXXX”
- Connect to it from your phone or computer
- Open a browser and go to 192.168.4.1
- Configure your WiFi network, mining pool, and other settings
- Save and restart
Router Compatibility Note
Some routers (particularly ASUS and TP-Link models) may block mining traffic. If your Bitaxe connects to WiFi but won’t mine, check your router settings and disable “AiProtection” or “IoT Protection” features.
Need More Help?
If you’re still having trouble or have questions, please contact us and we’ll be happy to assist.